

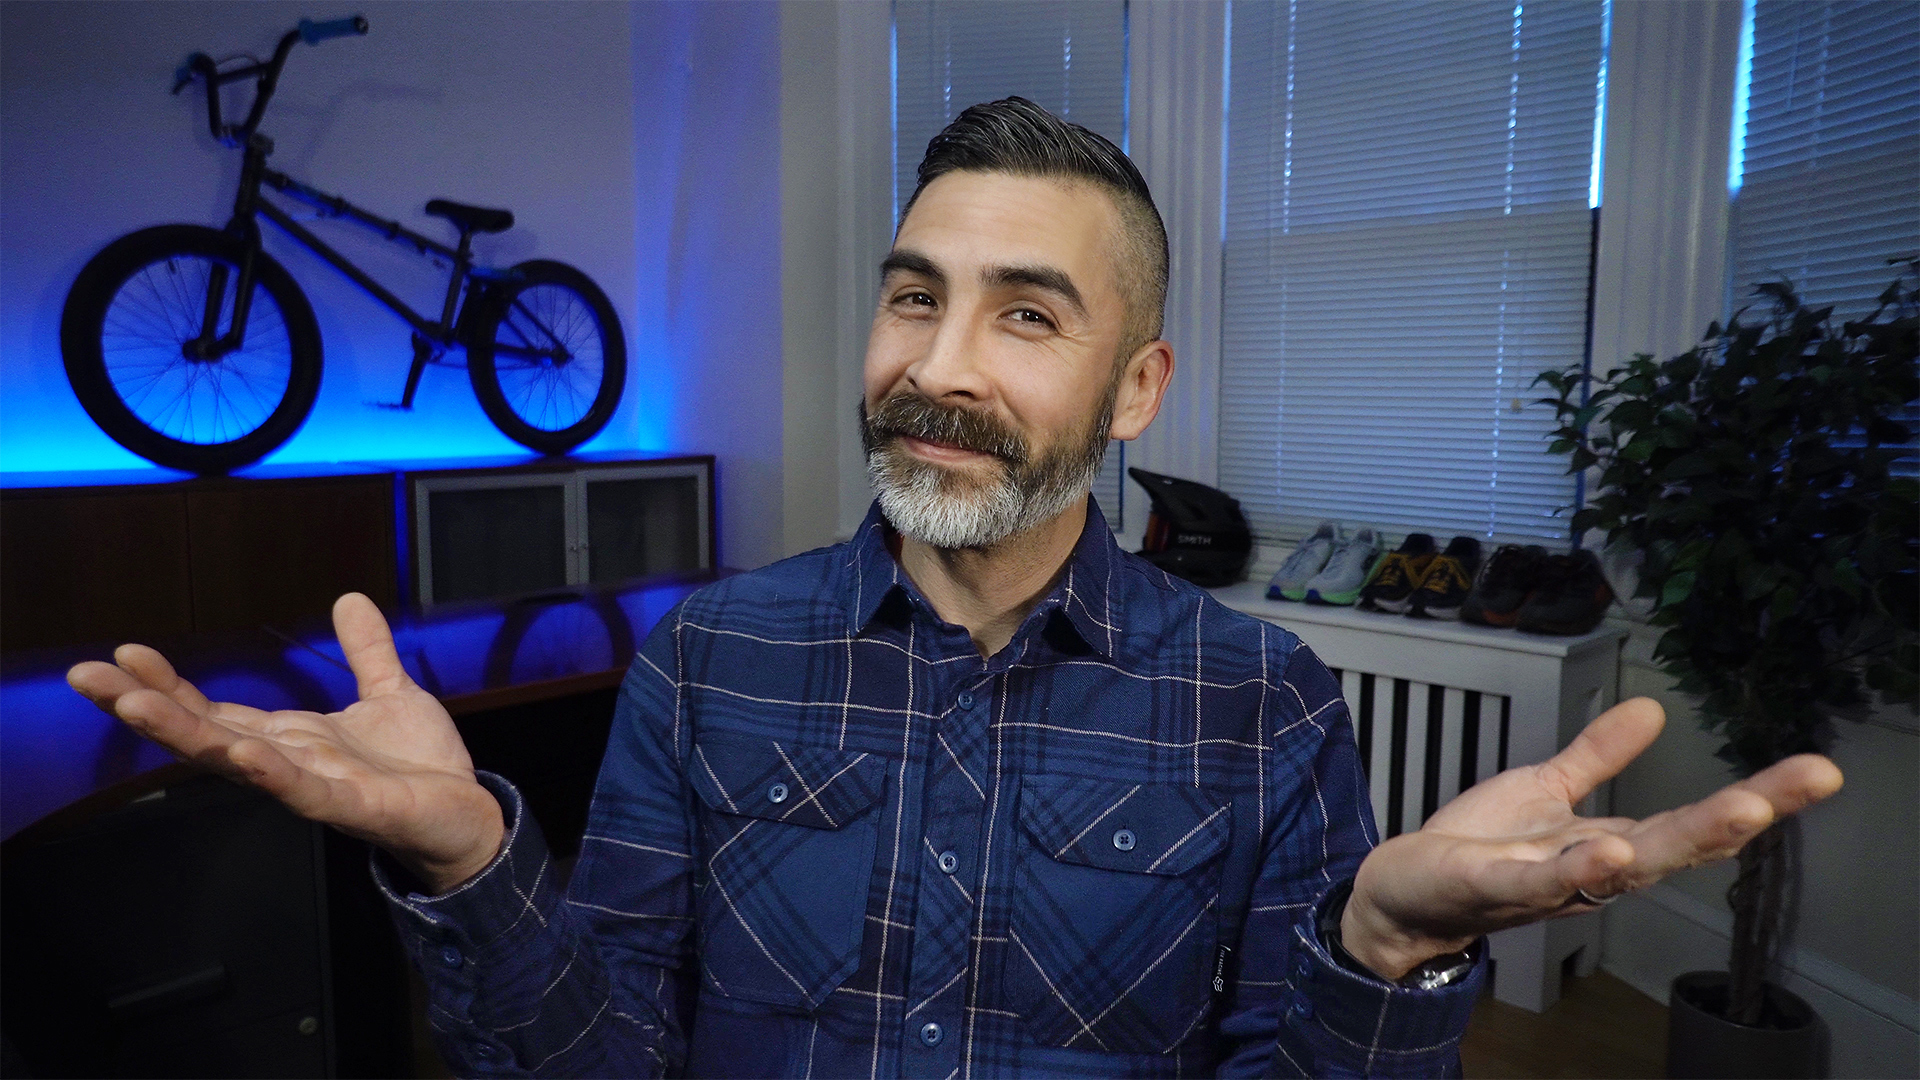
Join me for a tour of the Trail Sage studio and other helpful tips. You might be surprised at how inexpensive and simple my setup actually is.
And while I realize my setup is not “professional”, we can still get pretty close using some creativity, a mix of household items, and some prosumer gear. But being tight on cost, as well as space, also meant this studio had to function as my office when I was not recording video.
So the question became, could we create a multifunctional studio/office for under $200? Of course this price does NOT include the camera, and that’s because this setup can work using any camera, including the one on your phone. Obviously there’s a lot more that goes into creating a good video, including editing software, scripting, and shooting b-roll however that will have to be another video.
Featured Products:
The four big ticket items I used to create my studio.
Marantz SG-5BC Shotgun Microphone
https://amzn.to/3FRP3IZ
K&M Mic Stand with Boom Arm
https://amzn.to/33JOljq
3Pod Mini Tripod with Ballhead
https://amzn.to/3A9Uemf
Govee LED Strip Lights
https://amzn.to/33v7mq6
Other Helpful Items:
Benro Aluminum Monopod
https://amzn.to/3GIm3nZ
Rosco Cinescreen Window Treatment
https://www.bhphotovideo.com/c/product/595833-REG/Rosco_101034236020_3423_Cinegel_Cinescreen_60.html
If you have some feedback/questions, let me know in the comments below. If you enjoyed the video and you want to see more content like this feel free to check out my other videos on Trail Sage.

A special “Thank You” to my Dad who helped me with the studio shots. He taught me everything I know and I’m grateful to have his experience and knowledge to draw upon
Trail Sage Apparel and Gear
https://trail-sage.com/apparel-gear/
As an Amazon Associate I earn from qualifying purchases made through the above links. Commissions earned through the Amazon Affiliate links help support this channel’s content creation. Thank you!
